What Is Concrete Polishing?
Concrete polishing uses diamond-embedded grinders to mechanically refine your slab into a smooth, reflective surface. No topical coating. No film that wears off. The shine comes from the concrete itself.
Think of it like sanding wood. You start with coarse grits to remove surface imperfections, then progressively finer grits to create smoothness and luster. Instead of sandpaper, contractors use industrial diamond pads in multiple passes. Instead of stain, they apply a chemical densifier that hardens the concrete from within.
The result: a floor that looks wet but never is. A surface that reflects light like polished stone. And durability that outlasts almost any coating system.
Warehouses in Green Bay use polished concrete because it stands up to forklift traffic without chipping. Retailers in Appleton choose it because the high-gloss finish makes products pop under showroom lighting. Homeowners in Neenah are discovering it transforms dated basements into modern living spaces.
Grind-and-Seal vs. True Polished Concrete
Not all "polished" concrete is actually polished. Grind-and-seal stops halfway.
Grind-and-seal: The contractor grinds the surface smooth, then applies a topical sealer. The shine comes from the sealer, not the concrete. It looks good initially but the sealer wears down in high-traffic areas within 2-3 years. You'll need resealing. Cost is lower upfront — $3-$5 per square foot — but maintenance adds up.
True polished concrete: The contractor grinds through progressively finer diamond grits (we're talking 100, 200, 400, 800, 1500, 3000), applies a liquid densifier that chemically reacts with the concrete to harden it, then continues polishing to create shine through mechanical burnishing. No sealer. The concrete itself becomes the wear surface. Lasts 20+ years with basic dust mopping. Costs $5-$8 per square foot but needs almost zero maintenance.
Most commercial applications in the Fox Valley use true polished concrete. Most residential garages use grind-and-seal unless the homeowner wants that showroom look.
Grit Levels and Finish Options
The level of shine depends on how far you take the grinding process. Each level exposes different layers of the concrete:
Cream finish (800+ grit): Minimal aggregate exposure. You see mostly the cement paste with tiny specks of sand. Smooth, matte-to-satin appearance. Common in offices and retail spaces in Oshkosh where a refined, subtle look matters.
Salt-and-pepper (400 grit): Light aggregate exposure. Small stones (fine aggregate) become visible as dark flecks against lighter cement. Semi-gloss finish. The most popular choice for commercial spaces — professional without being flashy.
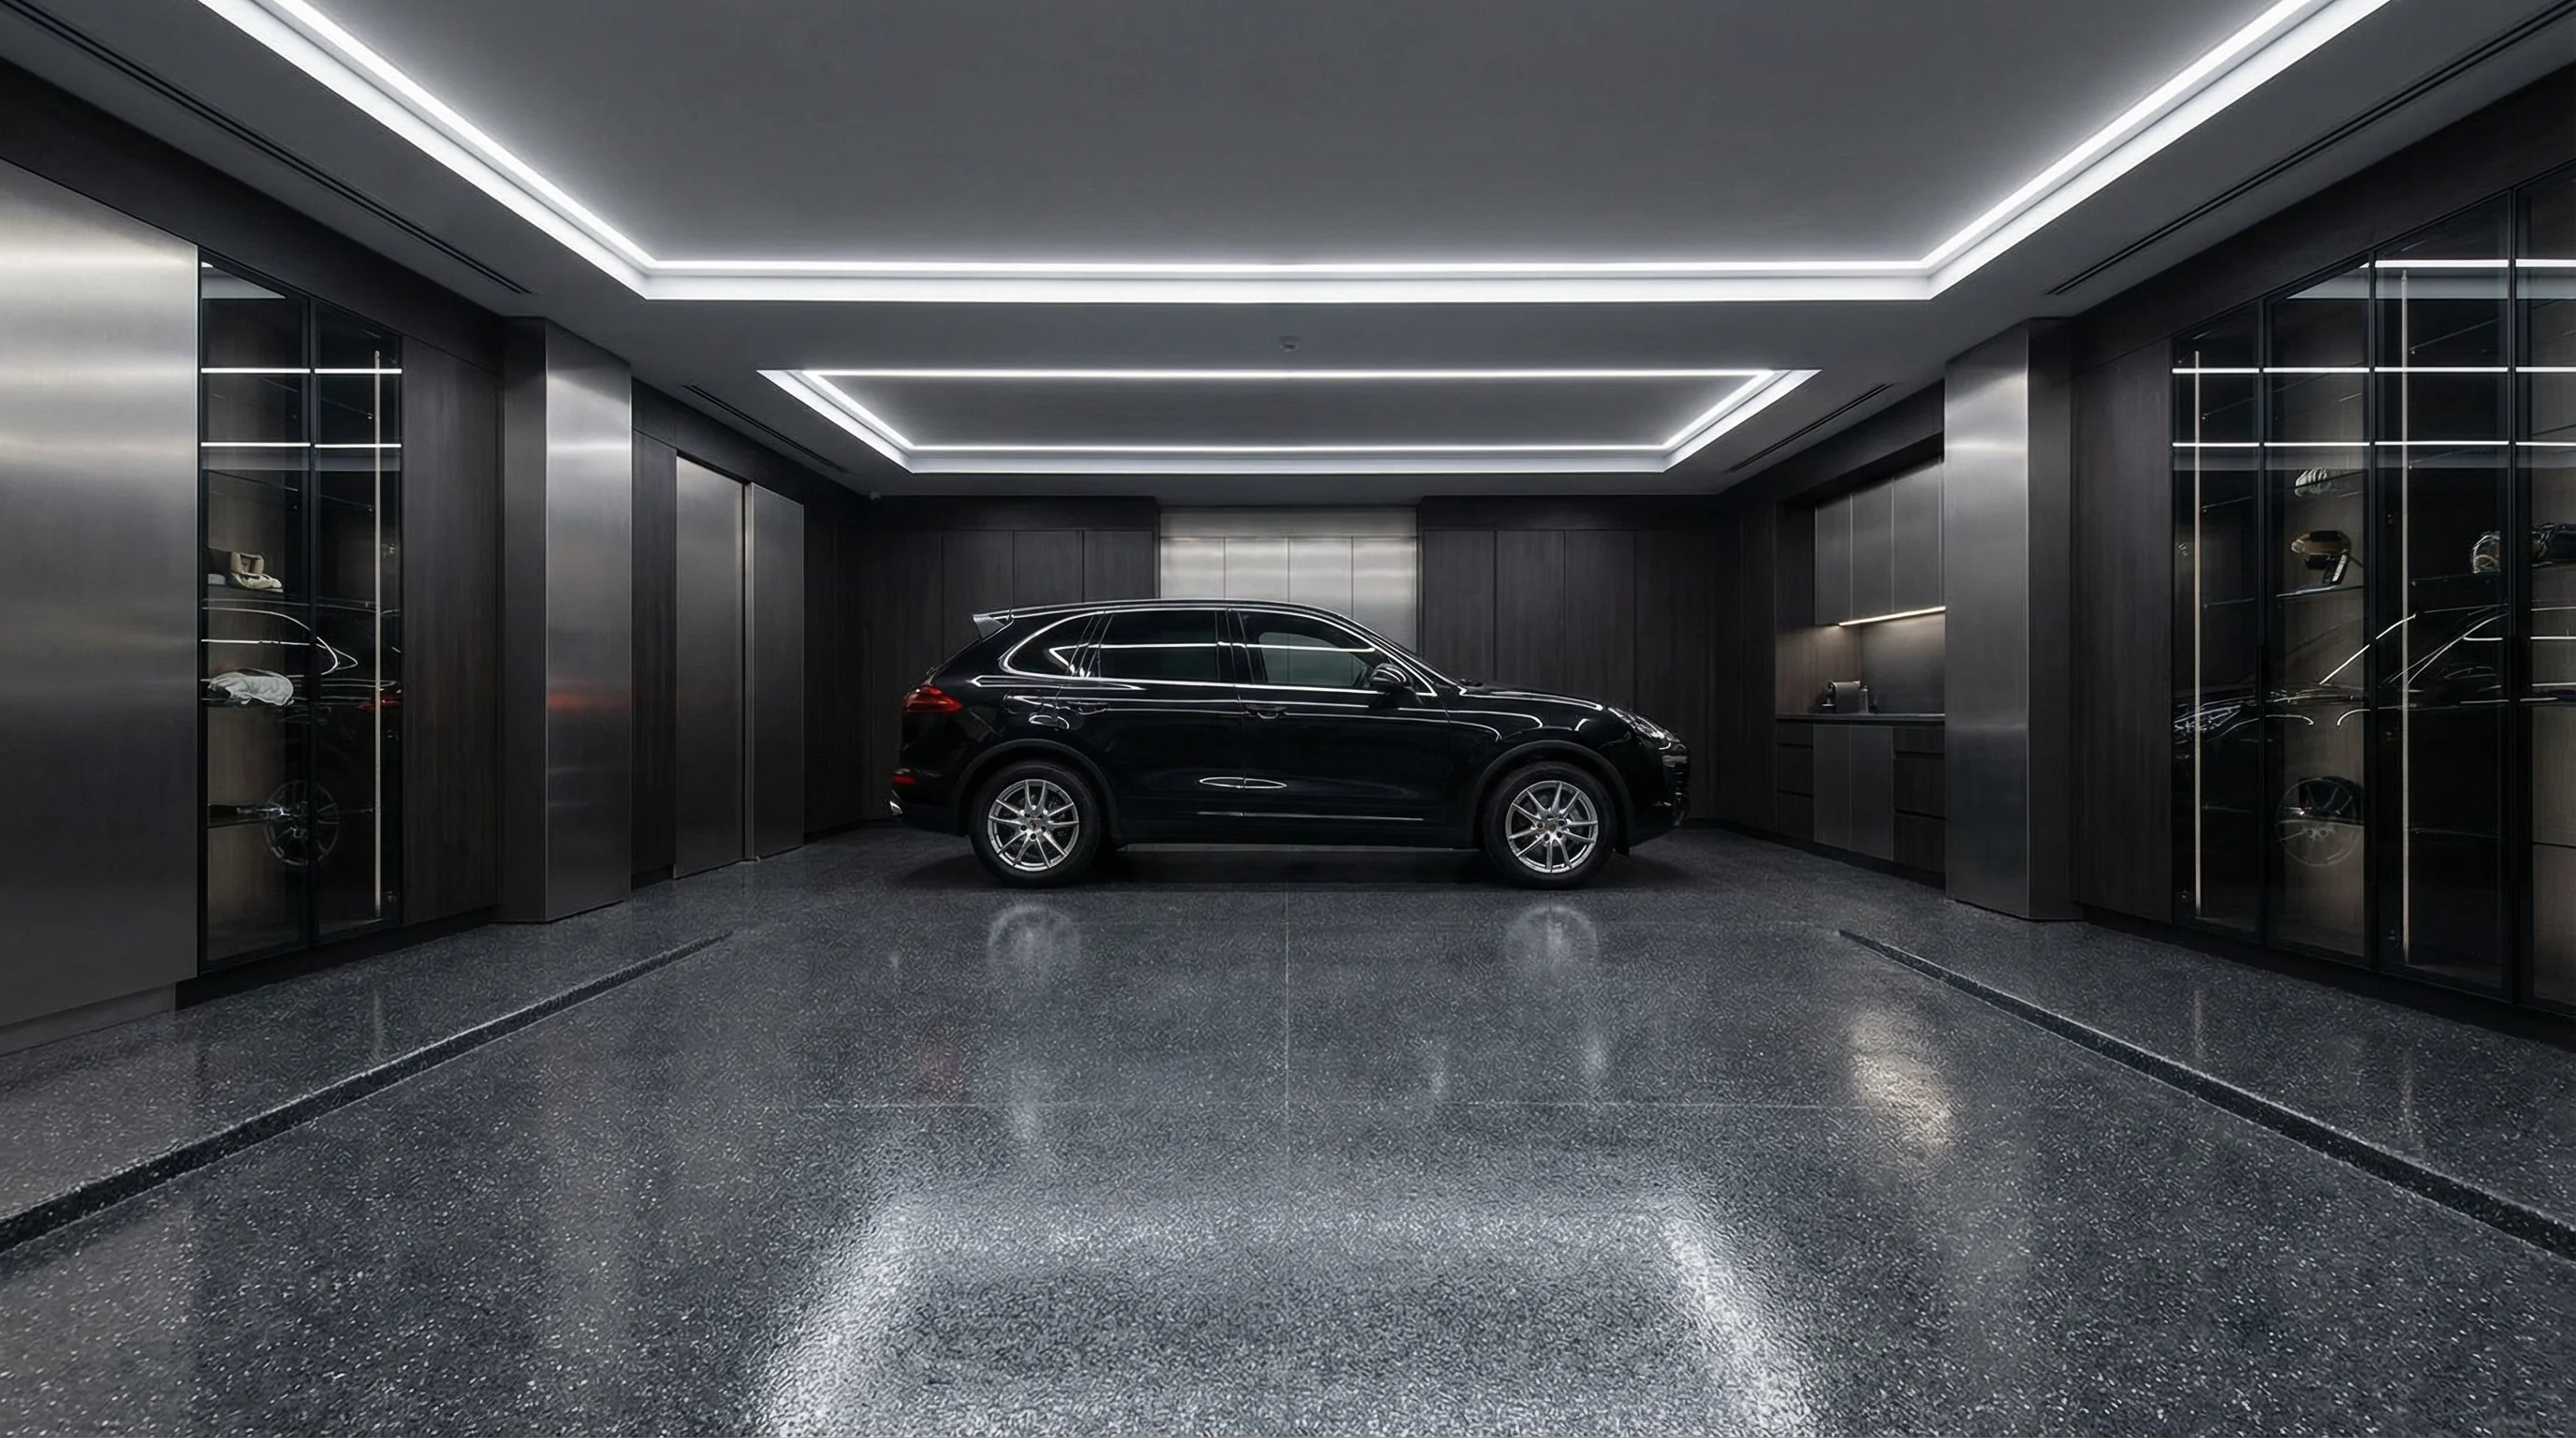
Full aggregate exposure (100-400 grit): Heavy grinding reveals larger stones embedded in the mix. Creates a terrazzo-like appearance with high visual interest. High-gloss finish possible with additional polishing passes. Popular in modern homes and upscale retail.
You're not just choosing shine level. You're choosing how much character shows through. If your existing slab has beautiful aggregate, expose it. If the concrete is plain or patchy, stay at cream level and let the uniform sheen do the work.
What Does Concrete Polishing Cost in the Fox Valley?
Expect to pay $3-$8 per square foot for polished concrete in Appleton, Green Bay, and surrounding areas. The range depends on finish level, slab condition, and square footage.
A 400-square-foot residential garage in Menasha runs $1,600-$2,400 depending on finish choice and prep requirements. A 10,000-square-foot warehouse in Kaukauna costs $50,000-$65,000 for a full polish with heavy prep.
Commercial projects often hit the lower end of the per-sqft range because large square footage spreads mobilization and equipment costs. Residential projects under 1,000 sqft typically pay premium rates.
Factors That Increase Cost
Your existing slab determines how much work precedes actual polishing:
Surface contaminants: Old paint, adhesive residue, oil stains, or existing coatings require shot blasting or chemical stripping before grinding. Adds $1-$3 per square foot and extends timeline by 1-2 days.
Cracks and spalling: Minor hairline cracks get filled during grinding. Structural cracks need repair with polyurea or epoxy injection. Spalled areas may require skim coating — sometimes polishing isn’t viable if damage is severe.
Joint filling: Control joints and saw cuts show up clearly on polished floors. Most contractors fill them with color-matched epoxy or polyurea for a seamless look. Adds $3-$8 per linear foot.
Moisture issues: Polishing traps moisture in the slab. Contractors test with calcium chloride kits. If levels exceed tolerances, you’ll need moisture mitigation — or abandoning the polish for epoxy instead.
One Green Bay facility manager paid $4/sqft for a straightforward warehouse polish. Another in the same industrial park paid $7/sqft because the slab had 20 years of forklift damage, oil stains, and old floor paint.
Polished Concrete vs. Epoxy Over 10 Years
Polished concrete wins on longevity and maintenance. Epoxy wins on chemical resistance and color customization. For most Fox Valley warehouses and garages, polished concrete costs less over time.
The Concrete Polishing Process
Polishing concrete isn’t a one-pass operation. It’s a multi-day sequence that progressively refines the surface through grinding, chemical treatment, and mechanical burnishing.
Surface Prep & Assessment
Day 1The contractor inspects for cracks, spalling, old coatings, and moisture, then performs a scratch test to check hardness. Old epoxy coatings need shot blasting or grinding to bare concrete. Existing control joints get evaluated — most commercial projects fill joints with semi-rigid polyurea to prevent chipping. Timeline: Half day for residential, 1-2 days for commercial facilities with significant prep needs.
Grinding & Honing Passes
Day 2–4A planetary grinder with multiple rotating diamond heads progressively refines the surface. Coarse grinding (30-100 grit) opens the surface and exposes aggregate if desired. Medium grinding (100-400 grit) removes scratches and achieves the salt-and-pepper look. Fine honing (800-1500 grit) creates initial shine.
Between medium and fine passes, the contractor applies liquid densifier — a lithium silicate solution that chemically hardens the surface and fills microscopic pores. Without densification, you can’t achieve true polish. Timeline: 2-3 days residential, 5-7 days for 10,000+ sqft commercial.
Densification & Final Polishing
Day 4–7After densification dries (4-6 hours), ultra-fine grits (1500-3000) with increasing machine speed burnish the hardened surface to create gloss — the floor starts looking wet. Some contractors finish with a high-speed burnisher for maximum reflectivity. A warehouse in Oshkosh might stop at 800 grit for practical semi-gloss. A modern home in Appleton might go to 3000 grit for maximum visual impact. Foot traffic is allowed immediately; full hardness develops over 2-3 weeks.
How to Choose a Concrete Polishing Contractor
Polished concrete requires specialized equipment and experience. A crew that does great epoxy work might lack the grinding expertise for professional polishing results. Here's what separates qualified contractors from those learning on your floor:
Equipment and Experience Requirements
Diamond tooling: Ask what grits they use and how many passes they typically make. A contractor who stops at 400 grit and calls it "polished" is doing grind-and-seal, not true polishing. Expect 6-8 passes minimum for high-gloss results.
Dust extraction: Grinding creates silica dust — a serious health hazard without proper capture. Professional contractors use grinders with integrated HEPA filtration or attach dust shrouds to industrial vacuums. If they say "we'll wet-grind to control dust," that's outdated and creates a slurry mess. Modern polishing is done dry with extraction.
Densifier choice: Ask whether they use sodium silicate or lithium silicate densifiers. Lithium penetrates deeper, doesn't leave white residue, and is less sensitive to application errors. It costs more. Contractors using cheap sodium densifiers often leave a hazy film that requires acid washing to remove.
Portfolio of similar projects: A contractor who's polished 50 warehouses has the experience to handle a commercial facility in Green Bay. But do they have residential experience? Basements and garages present different challenges — tighter access, lower tolerance for mistakes on visible living spaces.
Red Flags to Avoid
"We can polish any concrete": Not all slabs are good candidates. Weak concrete, severe spalling, or active moisture issues can't be polished successfully. A good contractor assesses first and sometimes recommends alternatives.
Lowest bid by far: Polished concrete has real material costs (diamond tooling wears out, densifiers aren't cheap). A bid that's 40% below others either cuts corners on prep, uses inferior materials, or skips critical steps.
No discussion of existing slab condition: If they quote without inspecting the floor or asking about previous coatings, they don't know what they're walking into. Surprises mid-project drive costs up.
Sealer in the "polished concrete" description: True polished concrete doesn't need sealer. If they're planning to apply one, they're doing grind-and-seal (which is fine — just not the same product or longevity).
Portfolio and Sample Finishes
Ask to see completed projects at different grit levels. Photos help, but visiting a completed space shows you the real-world appearance under various lighting. A salt-and-pepper finish looks different under warehouse LED strips than under basement recessed lights.
Questions to ask:
- What grit level do you recommend for my space and why?
- How do you handle existing cracks and control joints?
- What densifier do you use and how many coats?
- What's included in your price — joint filling, stain guard, furniture moving?
- How long before we can use the floor normally?
- What maintenance do you recommend?
A knowledgeable contractor explains trade-offs. Cream finish shows fewer imperfections but has less character. Full aggregate looks dramatic but highlights any color variation in the original pour. Salt-and-pepper splits the difference and is most forgiving for existing slabs in Neenah, Menasha, and Kaukauna that might have inconsistent aggregate distribution.
The right contractor helps you choose the finish that matches your goals, your budget, and your slab's actual condition — not just the finish they're comfortable installing.
Frequently Asked Questions
Concrete job pricing requires a structured approach with several key components:
- Measure square footage — use a tape measure or area plan; confirm total sq ft with the client
- Assess concrete condition — walk the site, note cracks, spalling, stains, prior coatings, unevenness, and moisture issues
- Determine prep work — grinding, shot blasting, acid etching, crack repair, or removal of old coatings ($1–$5/sq ft)
- Choose finish type — polished concrete, epoxy floor coating, stain, or decorative system
- Get material costs — epoxy resin, hardener, pigments, primers, topcoats (varies by brand and volume)
- Calculate labor hours — surface prep typically 4–8 hours per 1,000 sq ft; application 2–4 hours per 1,000 sq ft; curing time is unpaid wait
- Add overhead & profit — labor rate ($35–$65/hr in Wisconsin), equipment rental, travel, insurance markup (typically 20–35%)
- Build in contingency — unexpected substrate issues; add 10–15% buffer
- Present itemized quote — break out materials, labor, prep, finish, and warranty separately
Related Articles

Concrete Polishing Services — When Epoxy Isn't the Right Choice
Professional concrete polishing as an alternative to epoxy coating. When polishing makes more sense for your space. Find qualified contractors in Fox Valley.
Read Guide
Additional Floor Services — Basements, Commercial & Concrete Polishing
Professional floor coating for basements, commercial spaces, and polished concrete. Find qualified contractors for specialized applications in Fox Valley.
Read Guide
Epoxy Flooring Cost Calculator — Estimate Your Project Before Calling a Pro
Calculate your epoxy garage floor project cost instantly. Input your garage size, coating type, and options to get accurate estimates before calling contractors.
Read Cost Guide
DIY Epoxy Kits vs. Professional Installation — Why the Pros Win Every Time
Thinking about a DIY epoxy kit? Learn why professional epoxy installation delivers better results, lasts longer, and often costs less than failed DIY attempts.
Read Guide
Cost & Hiring — Your Guide to Pricing and Finding the Right Contractor
Everything you need to know about epoxy garage floor pricing and finding qualified contractors. Cost ranges, what affects price, and hiring guidance.
Read Cost Guide
Epoxy Garage Floor Maintenance — How to Clean & Protect Your Investment
Learn what contractors recommend for cleaning and protecting epoxy garage floors. Understand maintenance schedules, proper cleaners, when to reseal, and signs you need professional help.
Read Guide
Epoxy Garage Floor Design Trends — What Contractors Are Installing in 2024
Explore current garage floor coating trends from color shifts to metallic finishes. Learn what contractors are installing, why certain looks require professional expertise, and what's popular in Fox Valley.
Read Guide